
10 min read
We all have experienced the frustration of being unable to read the handwritten label on a tube or a bottle. It's easy to blame a poorly written laboratory label on a labmate. But when you find yourself unable to interpret a label, it's time to change your labeling system and make it part of your laboratory information management strategy.
We are all eager to do as many experiments as fast as possible, sometimes leaving tubes poorly labeled. At the very least, we should never leave any sample poorly labeled sample behind. Ideally, we should print their labels before we generate any sample. After all, when we start an experiment, we know exactly what samples and tubes we will need. Why not print their labels ahead of time then? Properly labeling samples will result in fewer mistakes and increased productivity.
Proper labeling of everything in the lab is essential to a lab’s success. Since so many labs are struggling to develop reliable labeling strategies, we put together this guide for Laboratory Labels.
Follow these links to skip to a specific section:
- Improve your lab by printing labels
- How to achieve ultimate lab labeling
- Essential components of laboratory labels
- Choosing the right laboratory label printer
- Six label printers for laboratories that will fit your budget
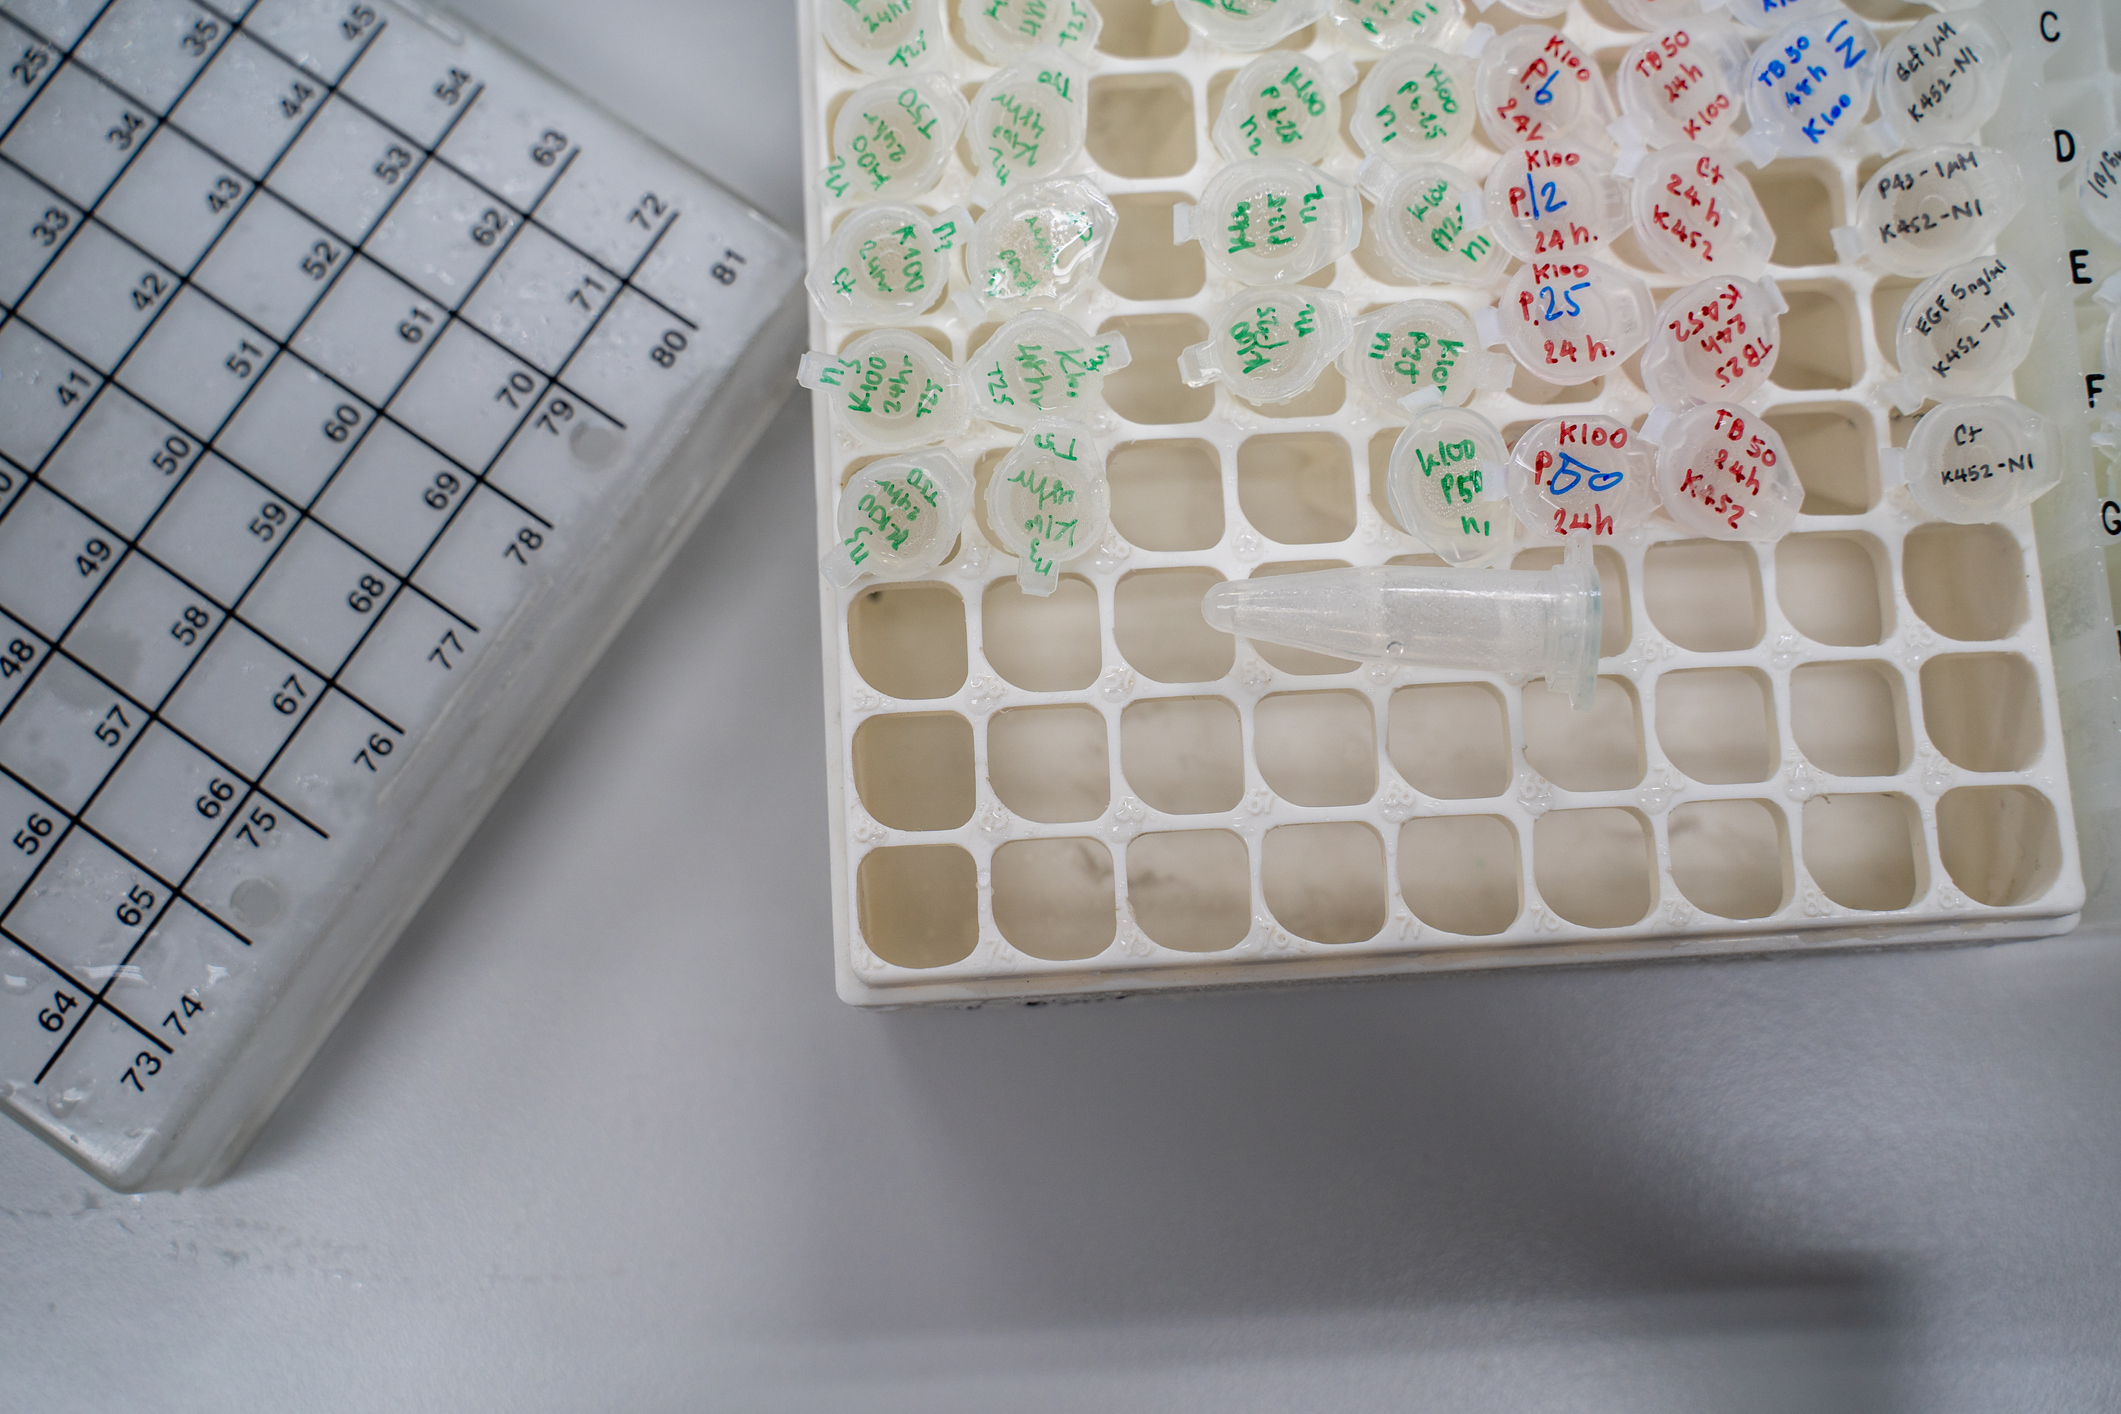 Consider the freezer box, pictured above. You know they are Amanda’s samples, but they are missing crucial information. Are they DNA or RNA solutions? Are they safe or hazardous? What experiment did they come from? Even if a sample came from an intermediate step of an experiment, what if Amanda needs to go back and check this sample? Which Amanda, Amanda K. or Amanda B.?
Improve your lab by printing labels
Much can be gained when every sample in the lab has a clear, detailed label. Here are three main factors about how your lab will improve when using clear labels:
1. Printed Labels Save time and money
One objection to labeling everything in the lab is that it is time-consuming and printed adhesive labels are expensive. It does not have to be. In fact, the opposite can be true: labeling can save your lab time and money.
Think about the long run. Inadequate labeling can lead to making mistakes that are costly – both in time and money. Mistaking samples for one another can lead to interpreting false results, remaking reagents or solutions, and worst of all needing to repeat an experiment. Avoid these situations by labeling each tube thoroughly. Increase your productivity and success, as well as save money.
A labeling solution for the entire lab is fairly inexpensive compared to many scientific instruments and expensive supplies the lab uses on a daily basis.
2. Printed Labels Increase Collaboration
It's not because labels are printed rather than handwritten that they are useful to all members of the lab. Using acronyms or project-specific lingo will have limited value as even the person who printed the label may forget what it meant.
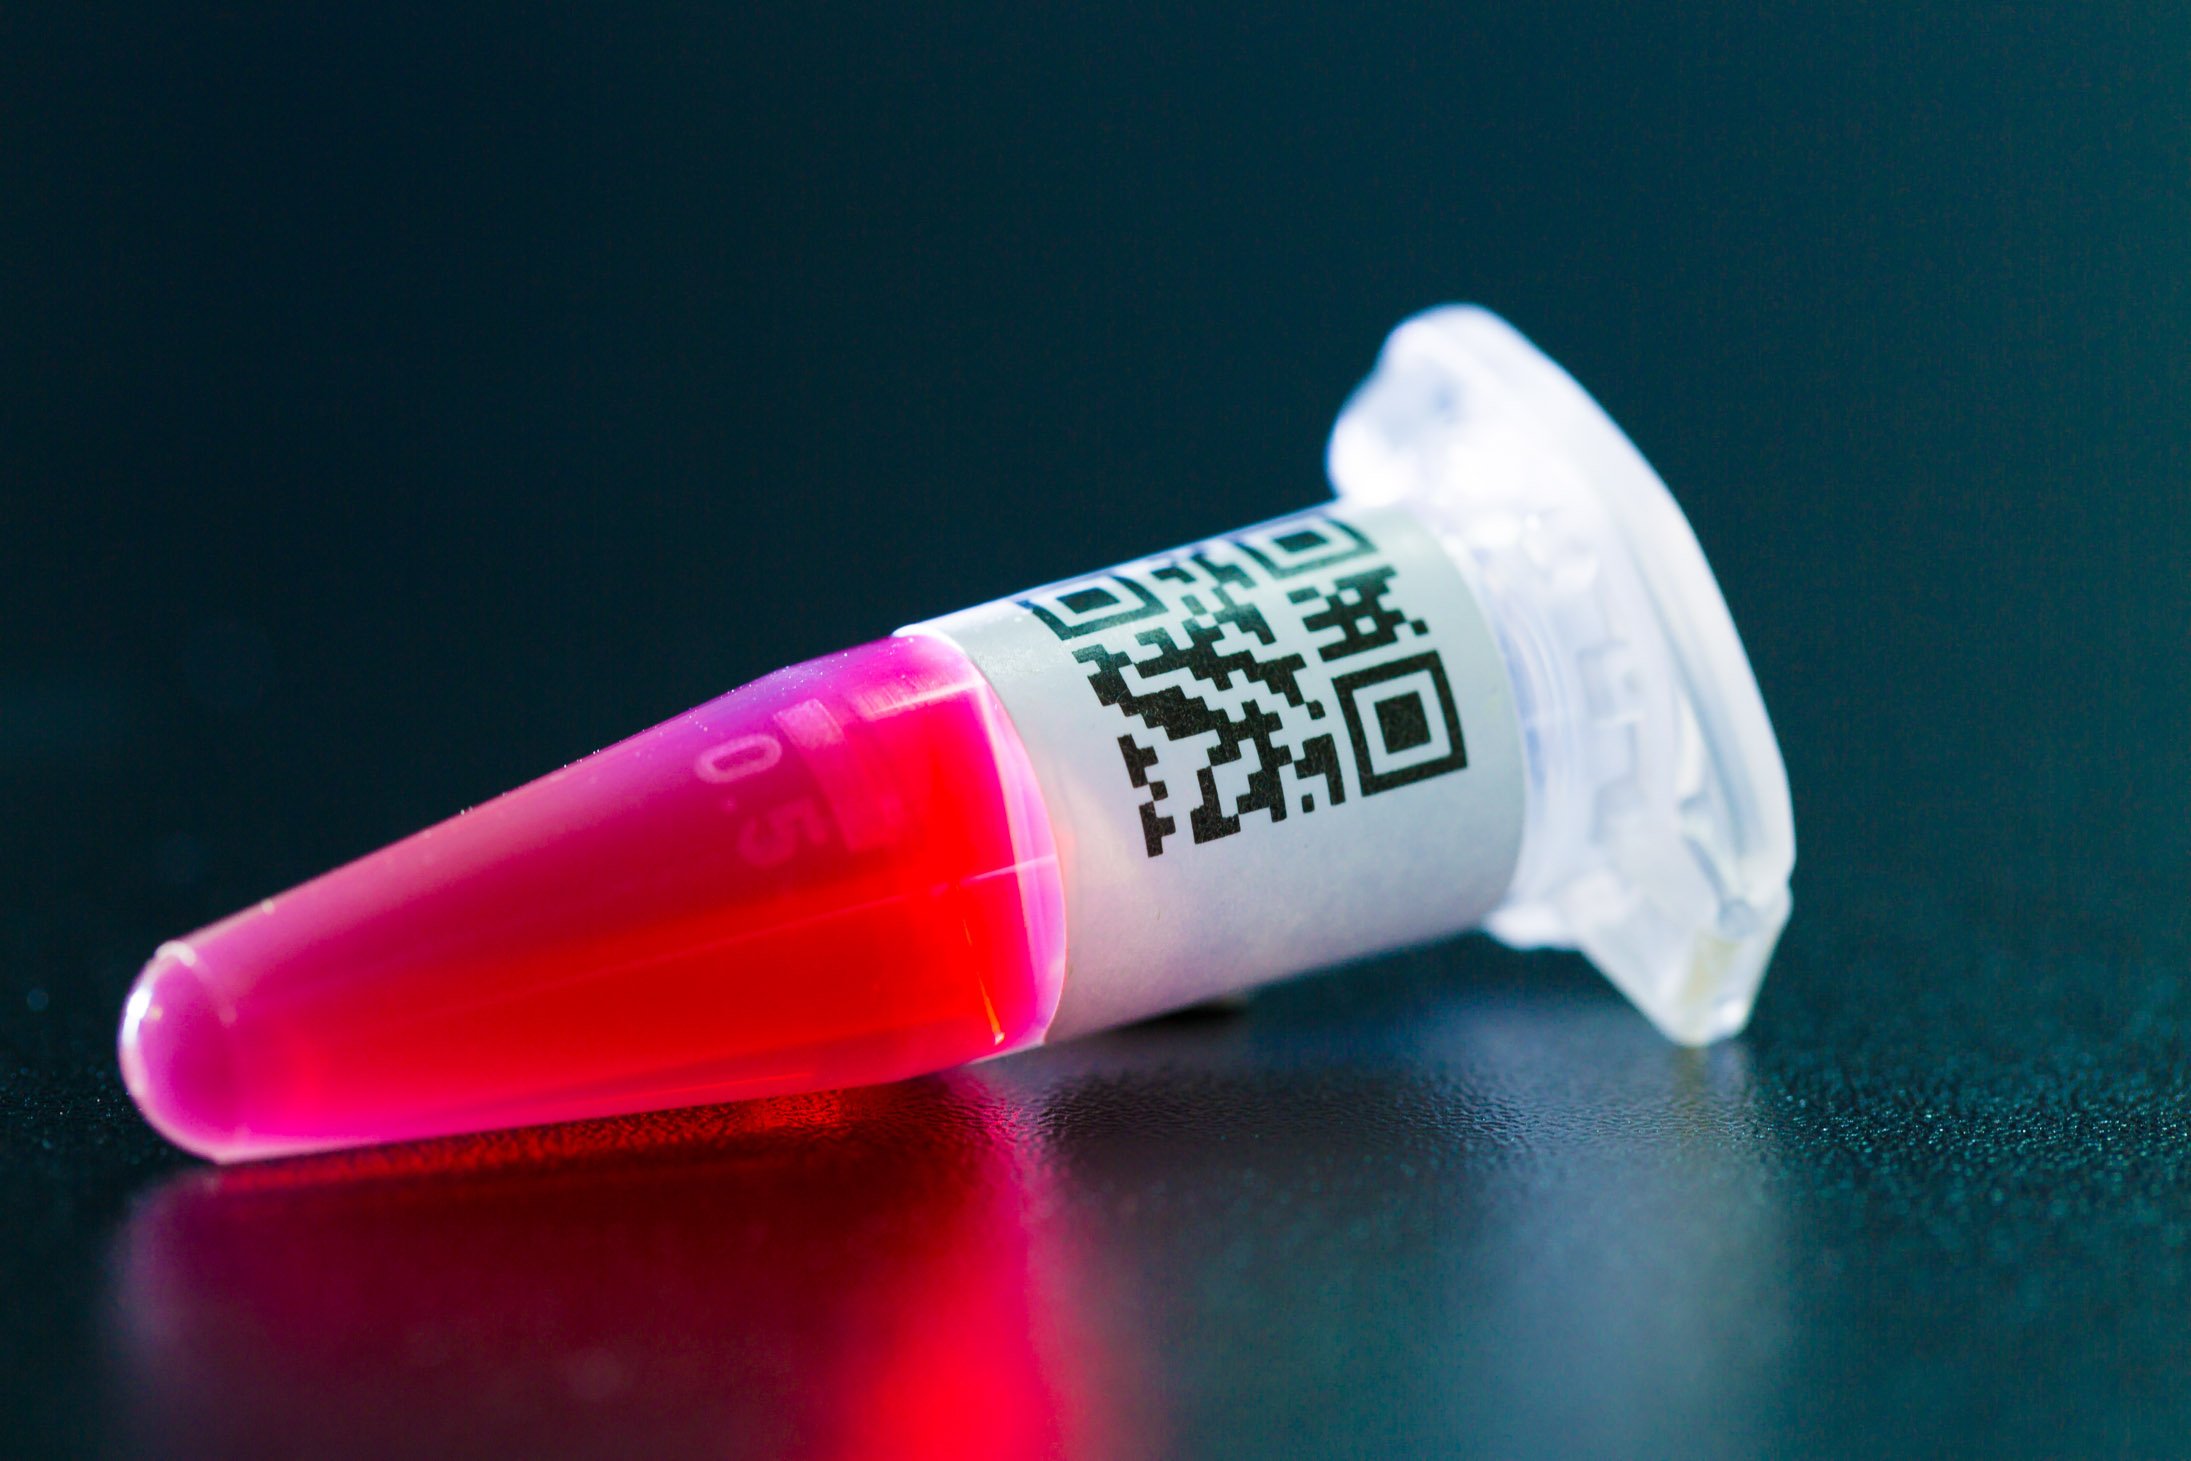
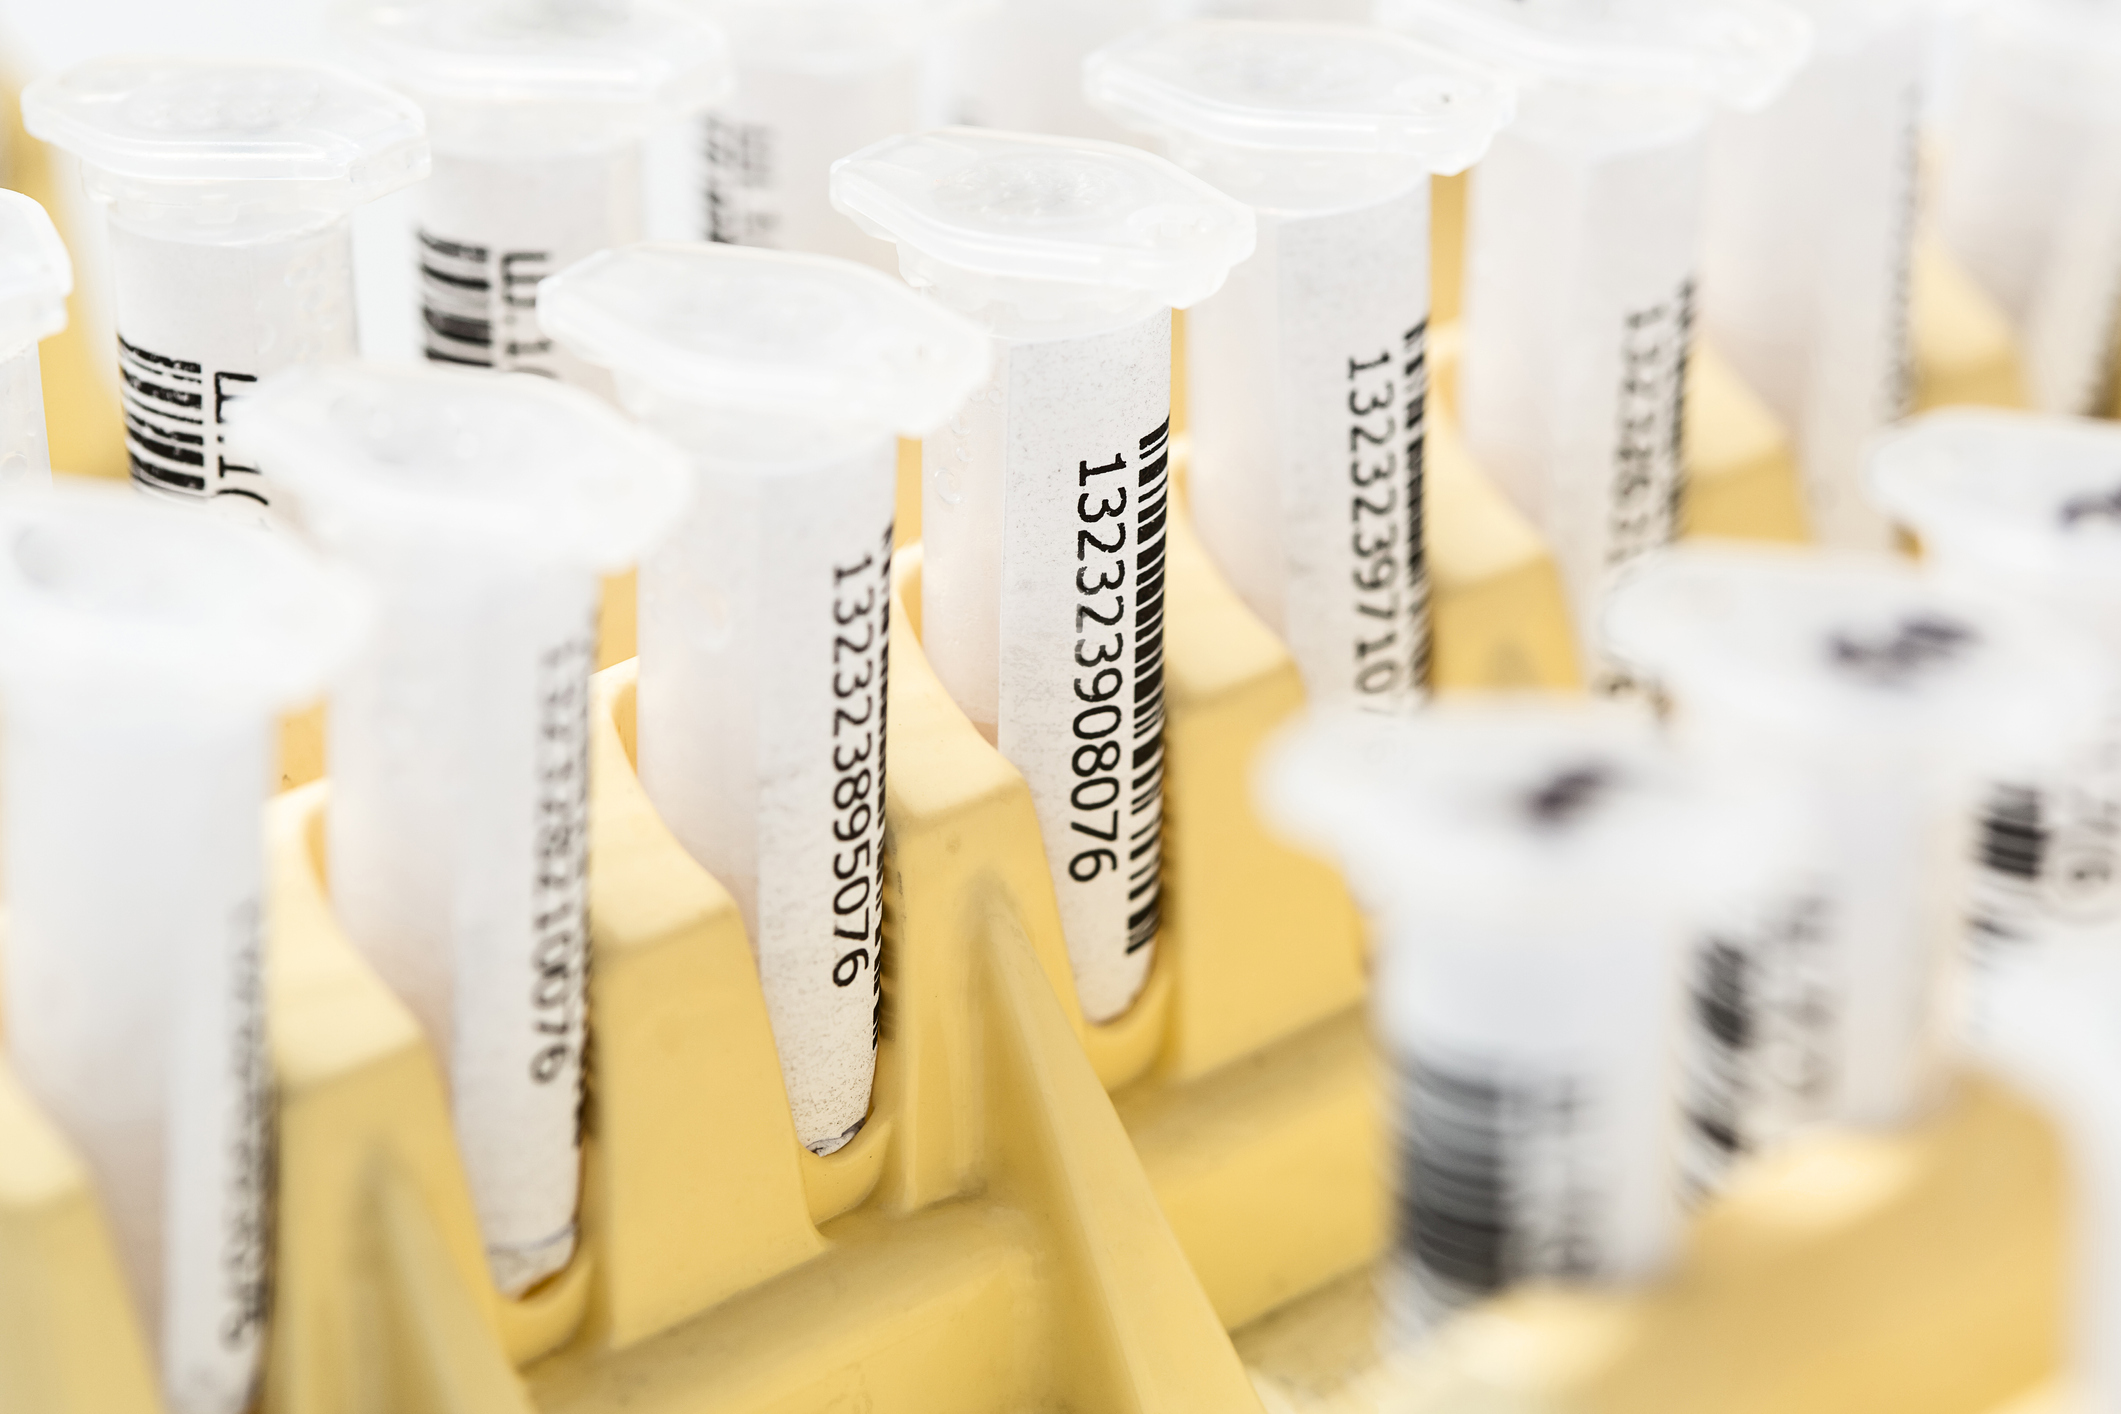
Anyway, there is not much space on many labels to print much information on the label itself. In the end, the only information that can be printed on most labels is information making it possible to retrieve data about the sample from a database or other kind of documentation system. So, this will generally include a barcode, a sample identifier printed in clear. The identifier should be unique across the entire lab. If there is enough space, the name of the tube owner and the date could also be included on the label.
The GenoFAB App automatically includes a barcode and unique sample identifier for every label it generates.
3. Printed Labels increase lab safety
Lastly, proper labeling contributes to increasing lab safety. An unlabeled or mislabeled tube could contain something dangerous to your health. Some samples can include poisonous substances, radioactive material, or infectious agents. Use labels of different colors to identify different categories of hazards. Changing a roll of labels in the printer is easy enough and can save lives.
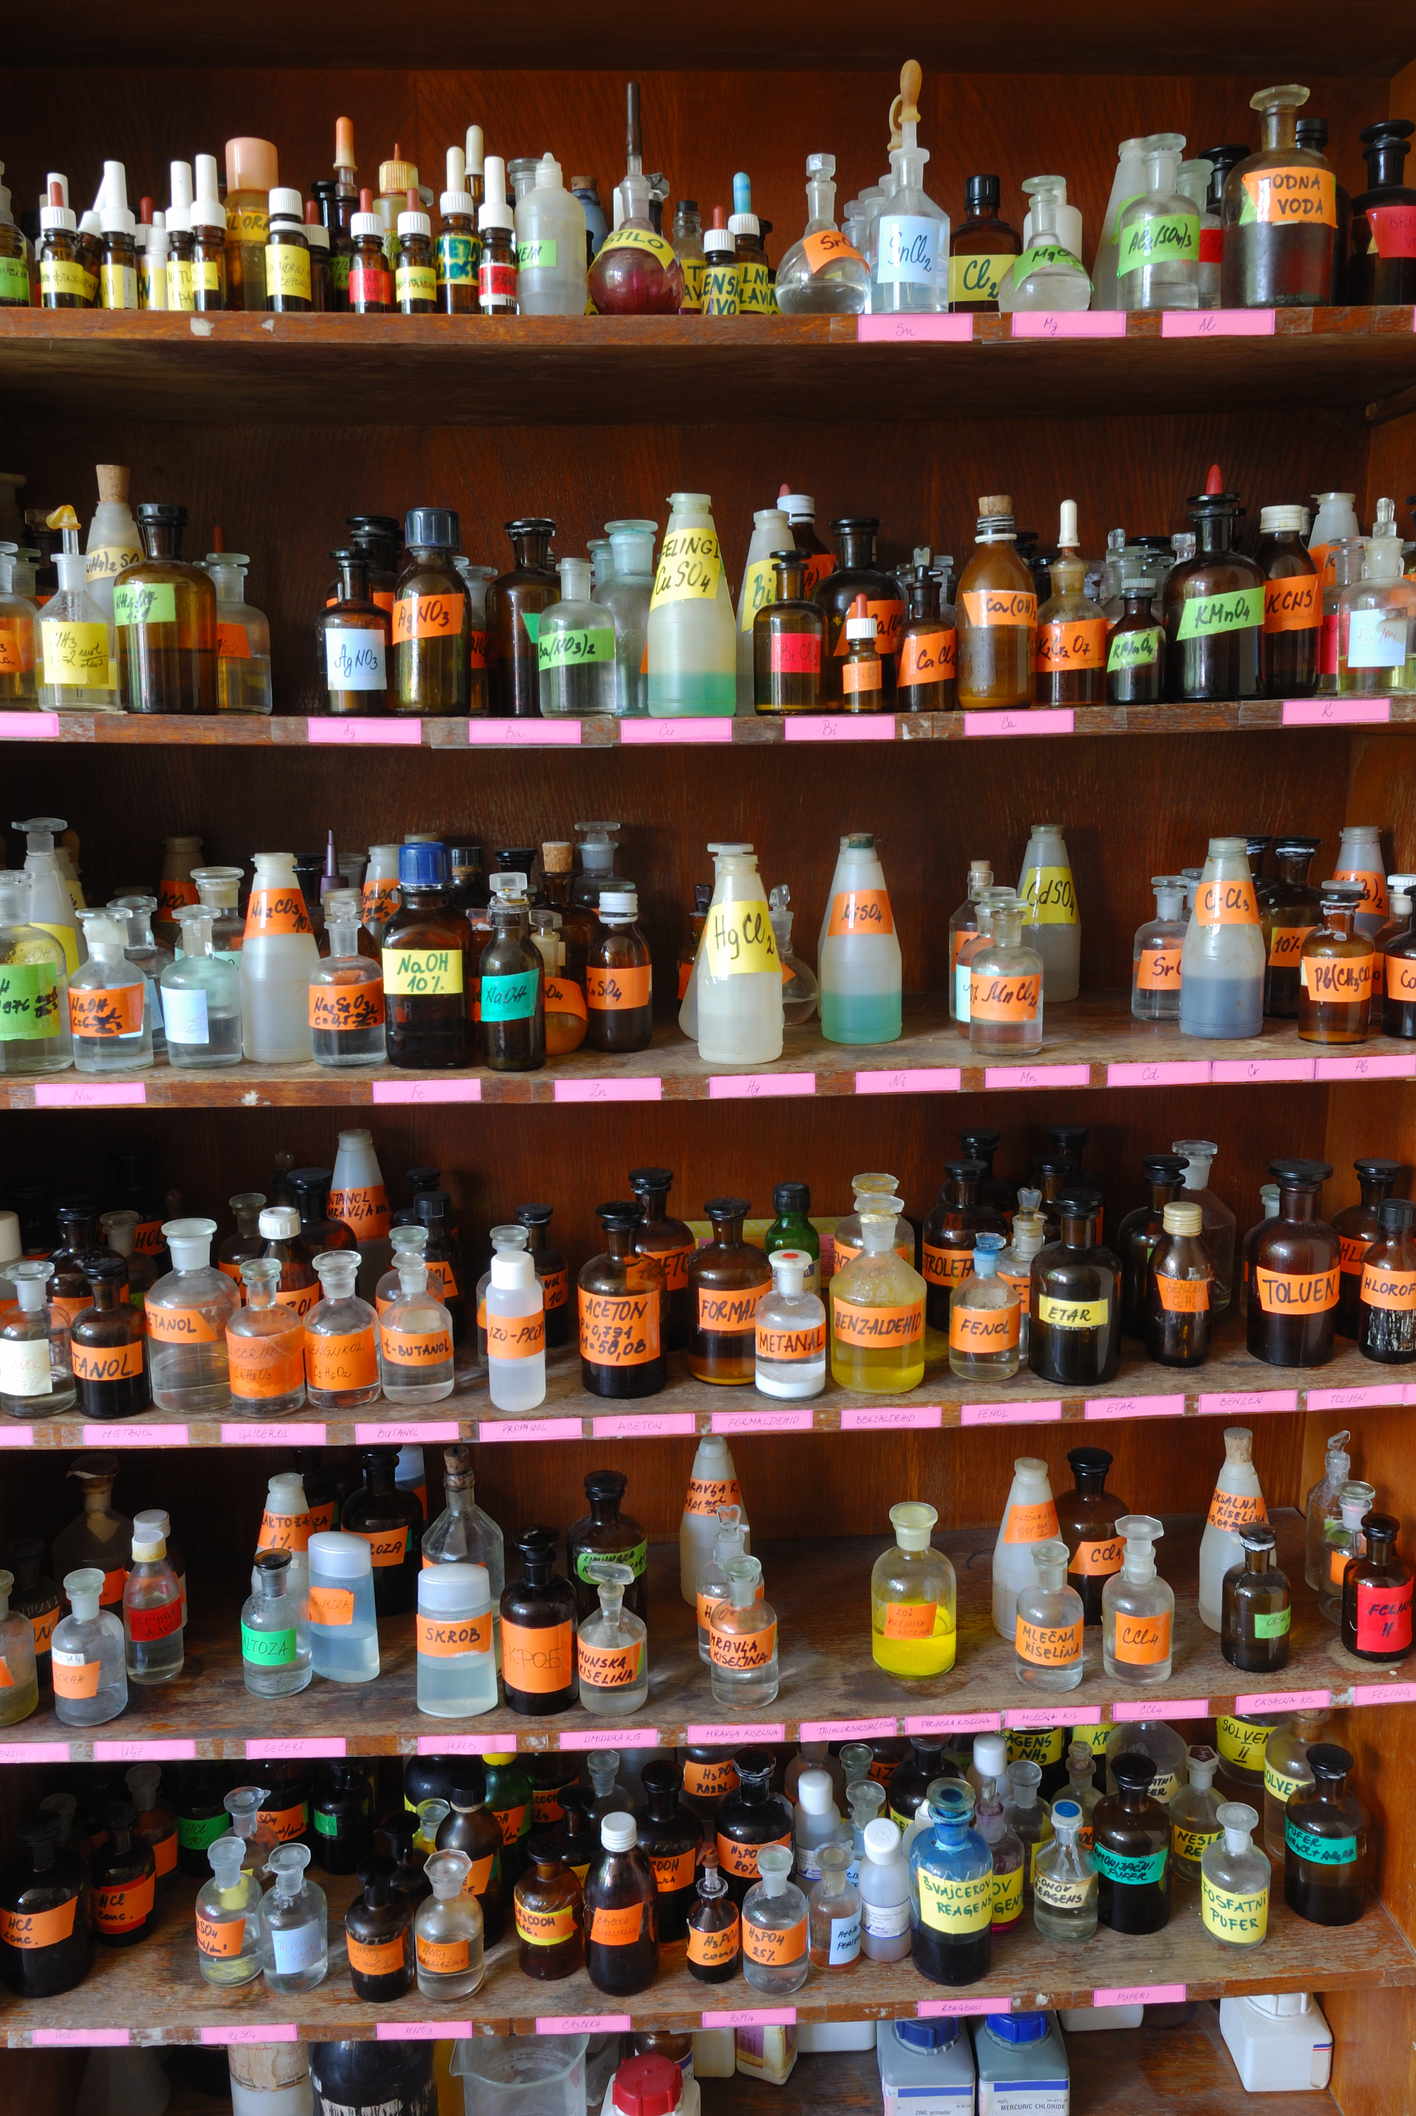 Chemicals with handwritten labels compromise lab safety.
How to achieve ultimate lab labeling
Label everything before you make anything.
Minimalistic labeling Strategy
A common mistake is to only label samples going into long-term storage, such as the cryopreservation tubes that won't be thawed for years tucked away in a freezer box. However, illegible or obscure labels on short-term or intermediary samples can be problematic. Take, for example, not being able to read the labels of DNA mini-prep spin columns or a sequencing library. Such a lack of labeling clarity will most likely lead to remade samples or repeated experiments and generally compromise the quality of what may go in long-term storage.
In addition, it is not always easy to identify what will go and stay in long-term storage. Samples may be "temporarily" placed in a freezer until they are forgotten and "temporary" becomes permanent. Many freezers are full of unidentified samples.
This minimal labeling strategy is not sufficient and can only be justified when printing labels is time-consuming.
Adequate labeling Strategy
Label all samples and reagents that are used by multiple people. Ask everyone to write the date and their initials on all reagents when they make or first use them. This is especially important when using perishable supplies. Labels on reagents can be useful information during troubleshooting. For example, if a particular lab member’s reagents were prepared incorrectly or become contaminated, or if a reagent surpasses its recommended “use by a certain date”.
Ultimate labeling Strategy
Label all samples, supplies, locations, and equipment with printed, adhesive labels. Use a Laboratory Information Management System (LIMS) to categorize each sample with a unique ID. Incorporate a barcode to access sample information more quickly. With this level of labeling, individual stocks and aliquots can be tracked through an experiment or order. If an experiment fails, the individual components can be tracked down and tested. Lastly, label storage locations—room, shelf, or freezer box—with barcodes or unique IDs. This strategy allows other researchers, lab technicians, and personnel to find things more easily.
Standardize labels and templates
Different labs work with samples of different sizes and formats.
It is necessary to identify the minimum number of labels formats that can be used to label everything the lab uses. This will limit the number of times label rolls need to be changed in the printer. This will also ensure that everything can be labeled. This effort should lead to the identification of no more than 5 to 10 different kinds of labels.
Then develop templates corresponding to the different label formats using your label printing software. Besides the label dimension, the template should include a number of additional lines to put additional information.
Finally, develop guidelines and policies so that everyone in the lab uses that additional space in a consistent way.
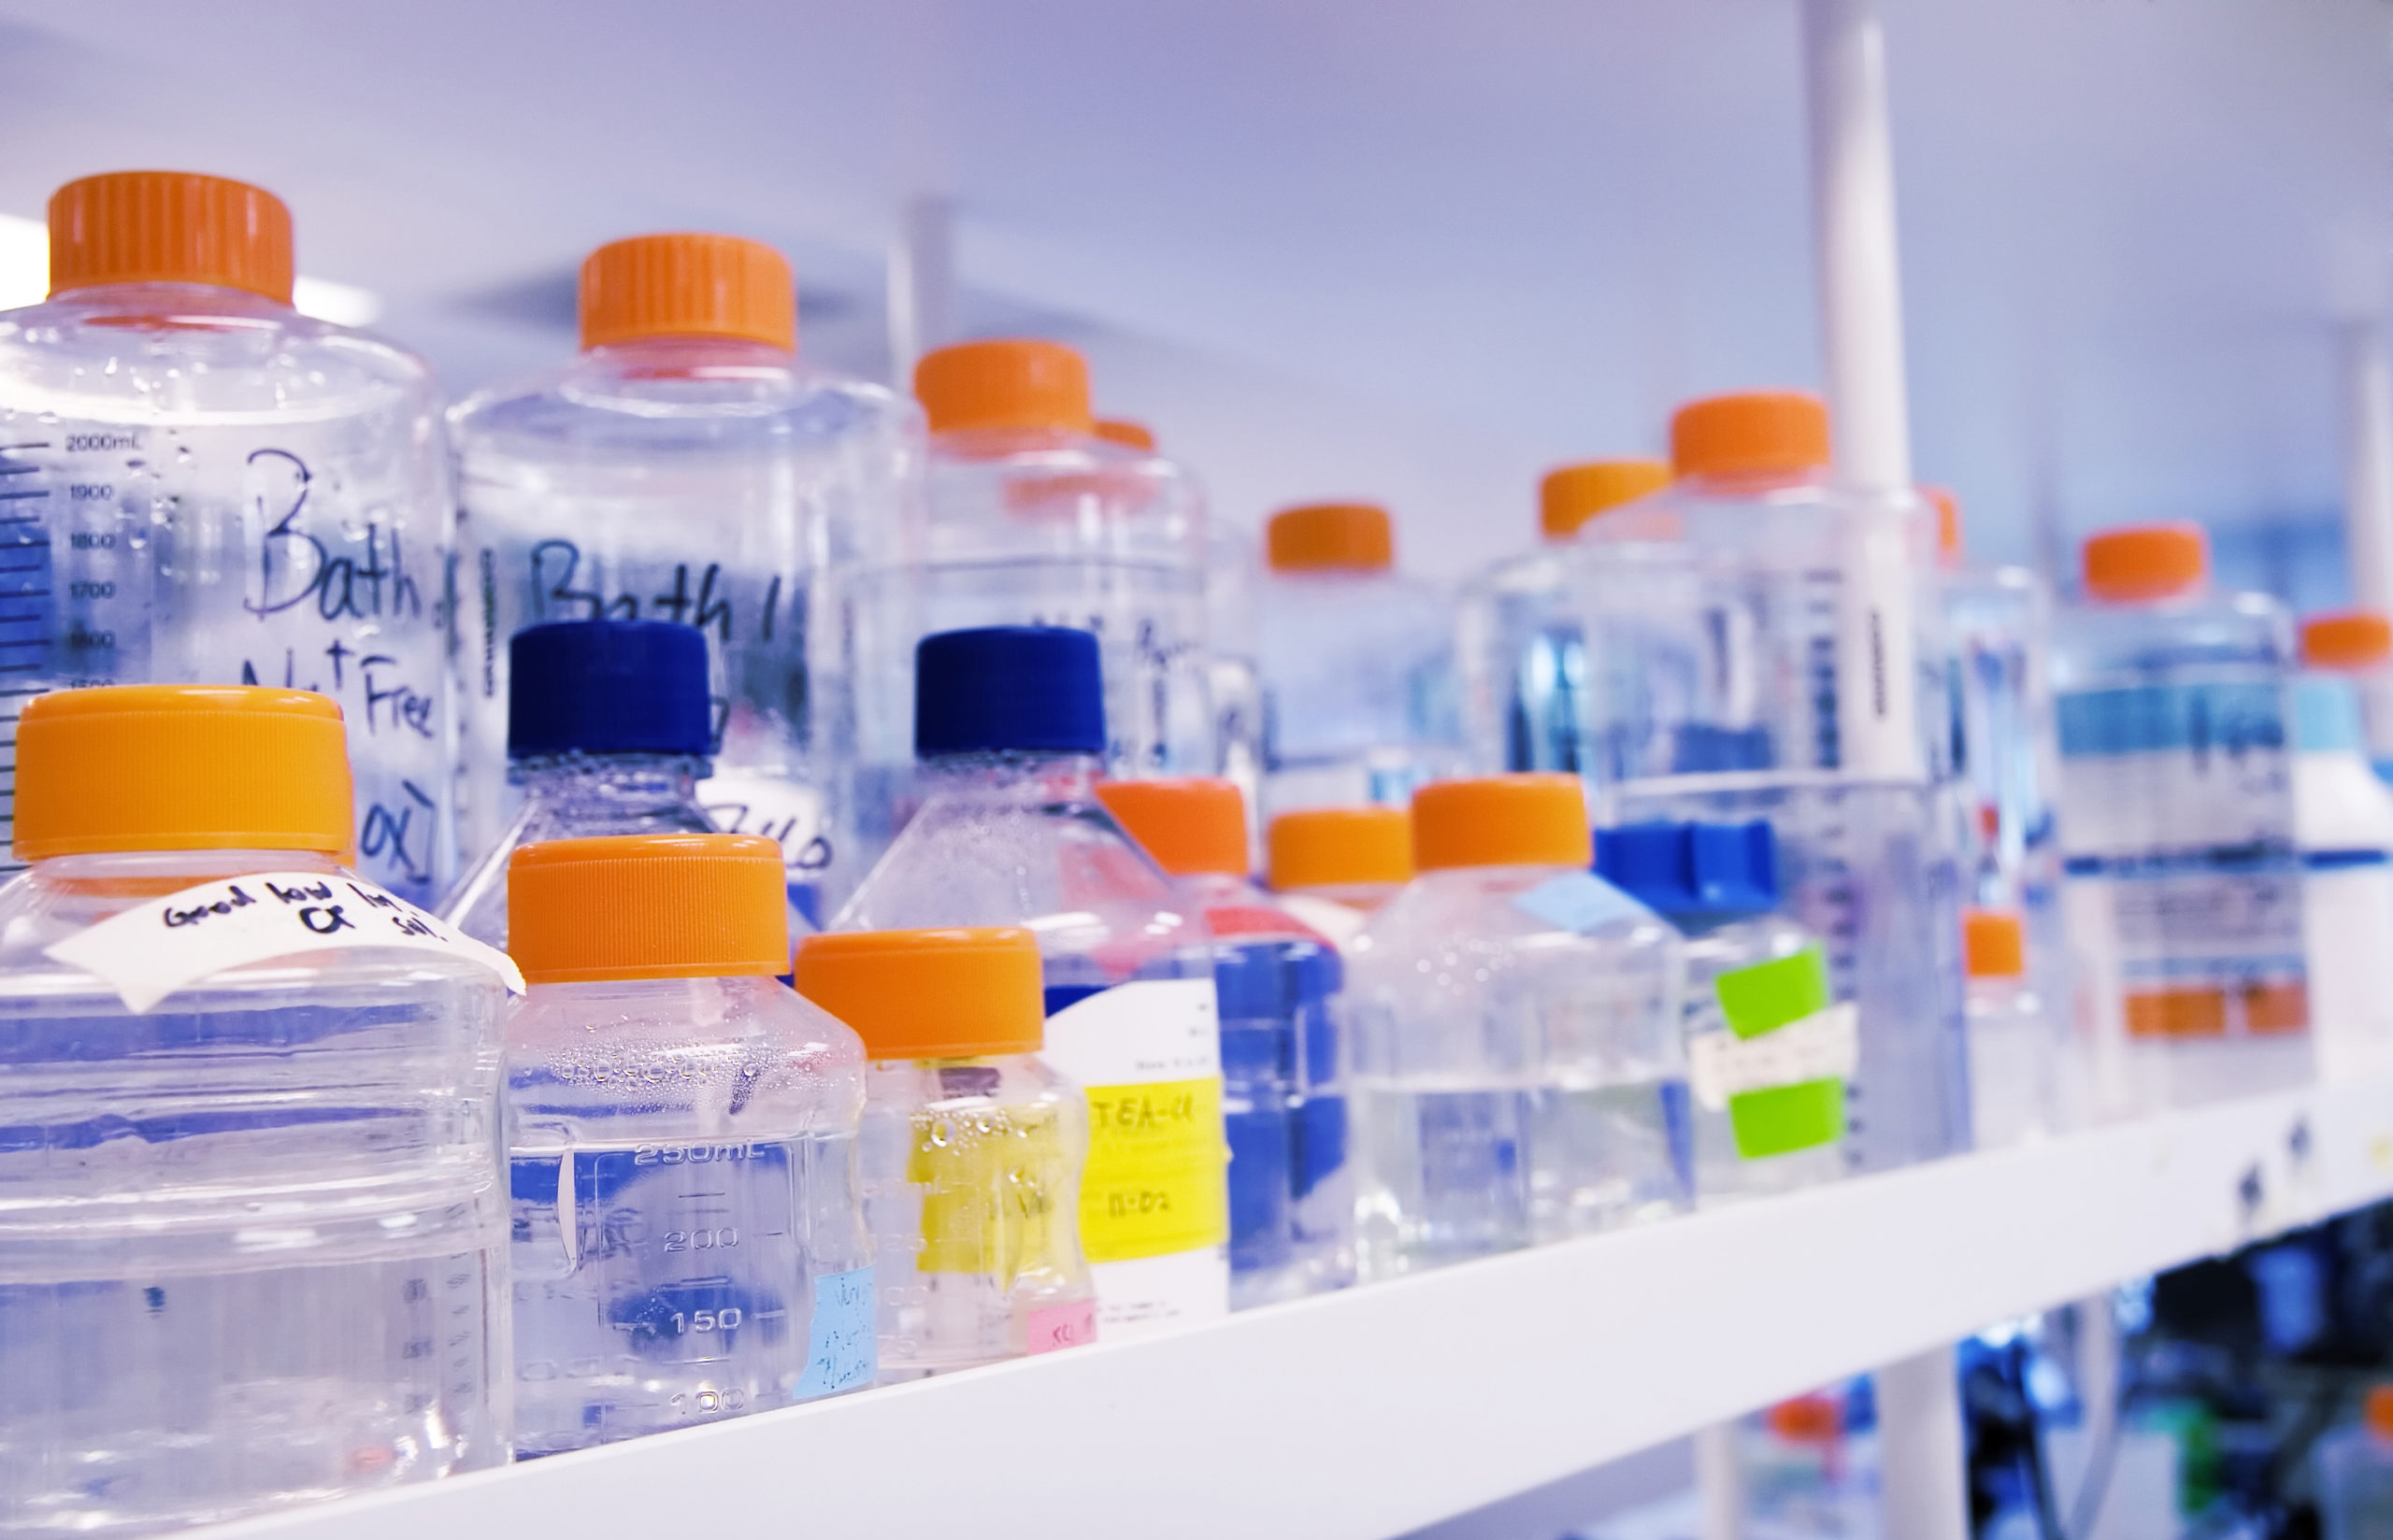 Solutions with handwritten labels may be incomplete or difficult to read.
Choosing A laboratory label printer
Label printers suitable for laboratories are different from label printers used in office environments to print shipping labels. The optimal printer depends on your lab environment, the nature and number of your samples, and the environmental conditions they will be exposed to.
Printing Technology
Printing technologies used in office environments are not suitable to print laboratory labels. Inkjet and laser printers are designed to work with sheets of paper, which is not a very convenient format for printing laboratory labels. When printing sample labels, it is preferable to work with a roll of labels that makes it easier to print variable numbers of labels without concerns about the number of labels on a sheet.
The two main label printing technologies are direct thermal and thermal transfer.
Direct thermal printers print by heating a temperature-sensitive paper locally. This is the technology used in Point of Sale printers. It is fairly simple to use because it does not require managing anything other than the label rolls. The downside of direct thermal is that the labels are fairly sensitive to environmental conditions. They can turn black if exposed to excessive heat. The print also wears off after a few months. Direct thermal can be used in services labs handling samples for short periods of time as long as the samples remain in mild environmental conditions.
Thermal transfer printers use ribbons made of wax or resin-based ink that melt onto the printing media (e.g., a label or similar) and create a long-lasting, high-quality image. This technique provides superior printing quality, durability, and resistance to harsh environmental conditions.
Thermal transfer printing is ideal for long-term applications in which the samples will be conserved for extended periods of time or will be exposed to harsh conditions such as chemicals, light, high temperatures or water. For this reason, thermal transfer printing is the technology of choice for asset tracking, laboratory specimens, and cold and freezer storage.
Thermal transfer offers a large variety of printing materials, including paper, plastic, and polyester. These materials have varying levels of longevity, with polyester being the most durable with the longest lifetime. Label materials can be carefully matched with different types of ribbons for maximum durability. In addition, thermal transfer printers provide the option to use colored ribbons and colored materials to improve label appearance or to streamline operation with color-coded labels.
Thermal transfer printing is the recommeded label printing technology for laboratories.
Printing Language: ZPL
Finally, the language used for the printer to communicate with the printer is also important to consider as it determines what software application will work with the printer. The Zebra Printing Language or ZPL for short is a de facto standard. ZPL is to label printing what PostScript is to laser printers.
Naturally, all the Zebra printers support this standard but other companies support it as well including Cab, Brady, and Labeltac.
Three label printers for laboratories that will fit your budget
Upgrading your laboratory labeling system doesn’t need to break the bank. Once expensive, label printers are now affordable enough for small-scale purposes, like organizing and categorizing things in a lab. We have tested printers that should accommodate the needs of most laboratories.
Zebra is one of the leading brands of this market.GenoFAB is a certified Zebra Independent Software Vendor.
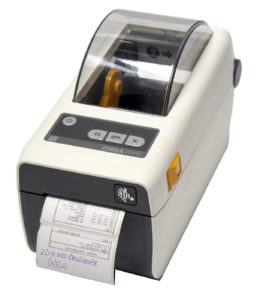
1. Zebra's ZD410 Direct Thermal Desktop Printer
ZD series printers are the fastest on our list, printing at 6 inches per second. The ZD410 line has a special laboratory and healthcare model, which is the same technical specifications but made of disinfectant-ready plastic and other healthcare privacy features. They print labels up to 2.2-inch-wide, quite smaller than the ZD420 series. They are direct thermal printers and print black ink. ZD series printers can connect to a computer via either USB or Bluetooth. They have a battery to power it when not plugged in, which increases their portability. Zebra accessories, such as a keyboard or a rechargeable battery, are available for this model.
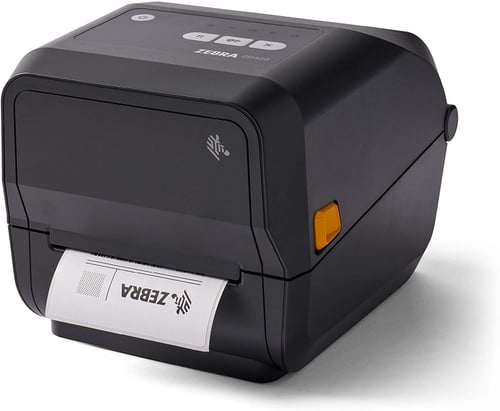
2. Zebra’s ZD420 and ZD620 Desktop Printers
The ZD420 is a small desktop thermal transfer printer. It prints labels up to 4 inches wide and can use different fonts or graphics, including logos and barcodes. As a thermal transfer printer, it prints in one ink color. It connects to a computer via USB, Bluetooth, and optionally through Ethernet.
The ZD420 comes into two versions that support 203 and 300 dpi resolutions. We strongly recommend the 300 dpi resolution when considering printing labels smaller than 1" as it will make it easier to print small barcodes.
The ZD621 performance is very similar to the performance of the ZD420 but it includes a digital display that can facilitate some operations. It is also a little faster than the 420.
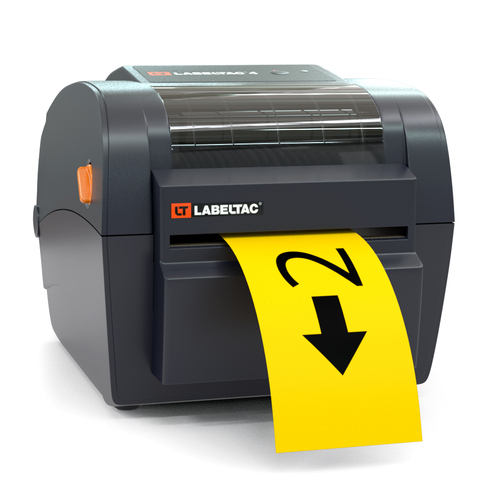
3. LabelTac Pro 4 for printing signs
LabelTac printers are in a different class. Instead of printing labels that can be affixed to laboratory samples, they are focused on printing signs that can be affixed to different parts of your facility. Instead of labels for samples, the LabelTac printers are printing signs for the lab.
The LabelTac 4 is their entry-level sign printer. It can print signs up to 4" in width and a variety of supports. Use this printer to print floor signs, health and safety signs, or organize your workspace using the 5S methodology.
GenoFAB Label Solutions
Schedule a call to to learn how GenoFAB can help you create, print, and maintain your laboratory labels and schedule a demonstration.

Recent Posts
8 steps to increase the productivity of your lab
We all wish to increase our lab productivity. We have deadlines to meet, publications to write, and...
What Does a Lab Manager Do And Why Is It Important?
There is a sort of energetic tension in the silence just after a conductor takes the stage. That...
Vero Cells: Green Kidneys to Produce Vaccines
Vero cells are commonly used to study viruses, treatments, and vaccines. The reason for this lies...